Build Updates
Our Lifted Astro Gets New Rear Leaf Springs at A&C Powersports & Custom Fabrication
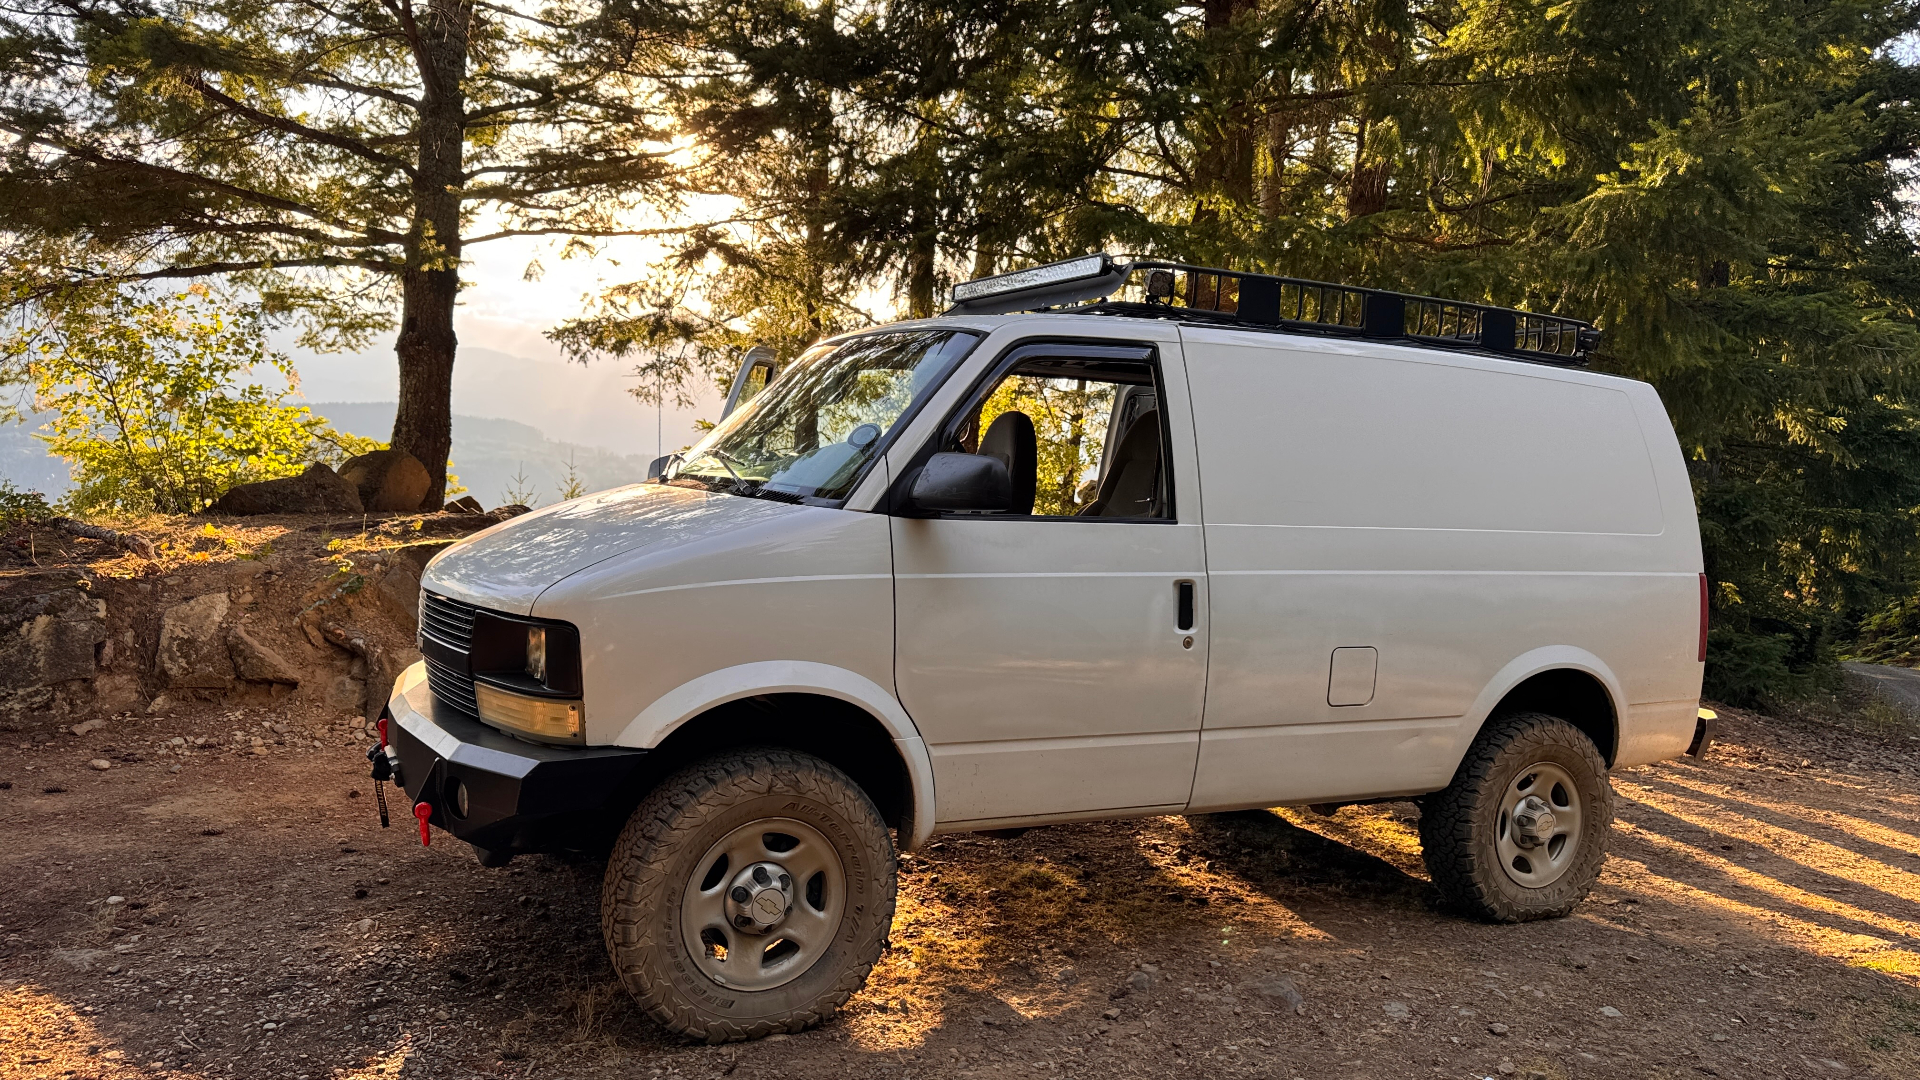
We took the lifted 2005 Astro to A&C Powersports & Custom Fabrication in Chilliwack for new rear leaf packs, better shackle geometry, and honest advice on what to fix next.
Our 2005 Chevy Astro cargo van has been leaning on tired rear springs for a while. With the JOR 5" lift, the steel bumpers, the roof rack, and everything else we've been slowly adding, the rear end had earned a proper rebuild. So we took it to A&C Powersports & Custom Fabrication in Chilliwack, BC.
They're a local off-road and fabrication shop, and after talking to the owner about what we're building — a reliable 2WD overland platform, not a show truck — it was clear they got it. This is our first job with them, and we're writing it up as a real customer experience, not an endorsement.
What We Had Done
The scope was focused:
- New rear leaf spring packs with overload/helper leaves
- Front-eye and shackle positioning adjusted for correct suspension geometry and shackle angle
- Full torque-up and a road check
- An honest conversation about what the rest of the suspension actually needs
The result on the road is immediate. The rear sits where it should, the van no longer squats under the Smittybilt X2O Gen 2 10,000 lb winch, fuel, water, and gear, and the ride over broken pavement is calmer. On the FSRs we normally chew up — the kind of surface we wrote about in the Fraser Valley FSR guide — the back of the van tracks instead of skipping.
The Shackle Angle Fix
The old setup wasn't just tired springs. The shackle angle was wrong for the loaded, lifted stance of the van, which was quietly limiting how the springs could work. When A&C reset the front spring and shackle positioning, the geometry started making sense: the shackle now sits in a range where the spring can actually cycle instead of fighting itself.
This is one of those changes you can't see from ten feet away, but you feel it every kilometre.
Repositioning the Leaf on the Hanger — Driveshaft Angle Fix
The technician went a step further than a straight spring swap. With the lift, the rear axle had rotated enough that the pinion yoke and driveshaft were no longer sitting at the correct operating angle — the kind of geometry problem that shows up as vibration, U-joint wear, and a driveshaft that never really settles at cruising speed.
To correct it, he repositioned the front of the leaf spring on the hanger, moving the mounting point to rotate the axle back into the proper pinion angle for the lifted stance. The result is a driveshaft that runs at the angle it was designed to run at, not one that's being asked to work sideways because the axle got tipped by a spring lift.
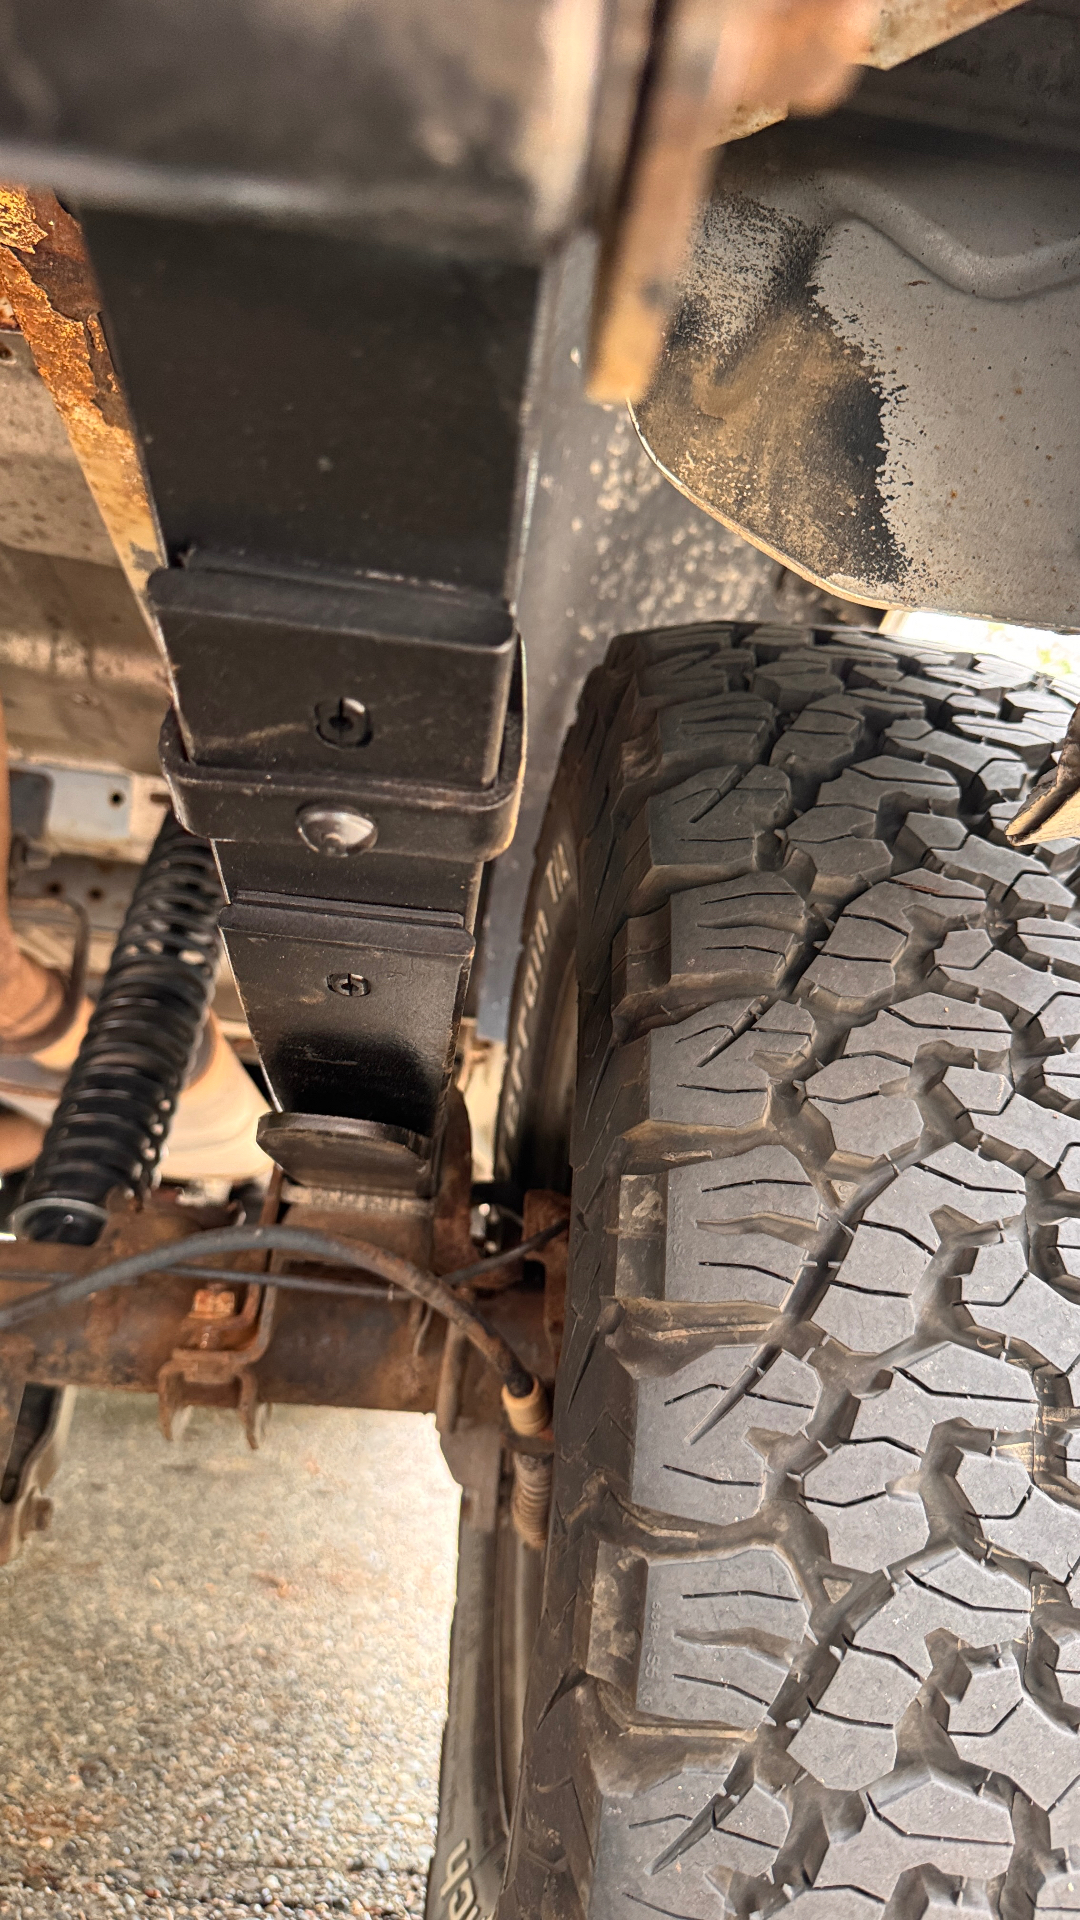
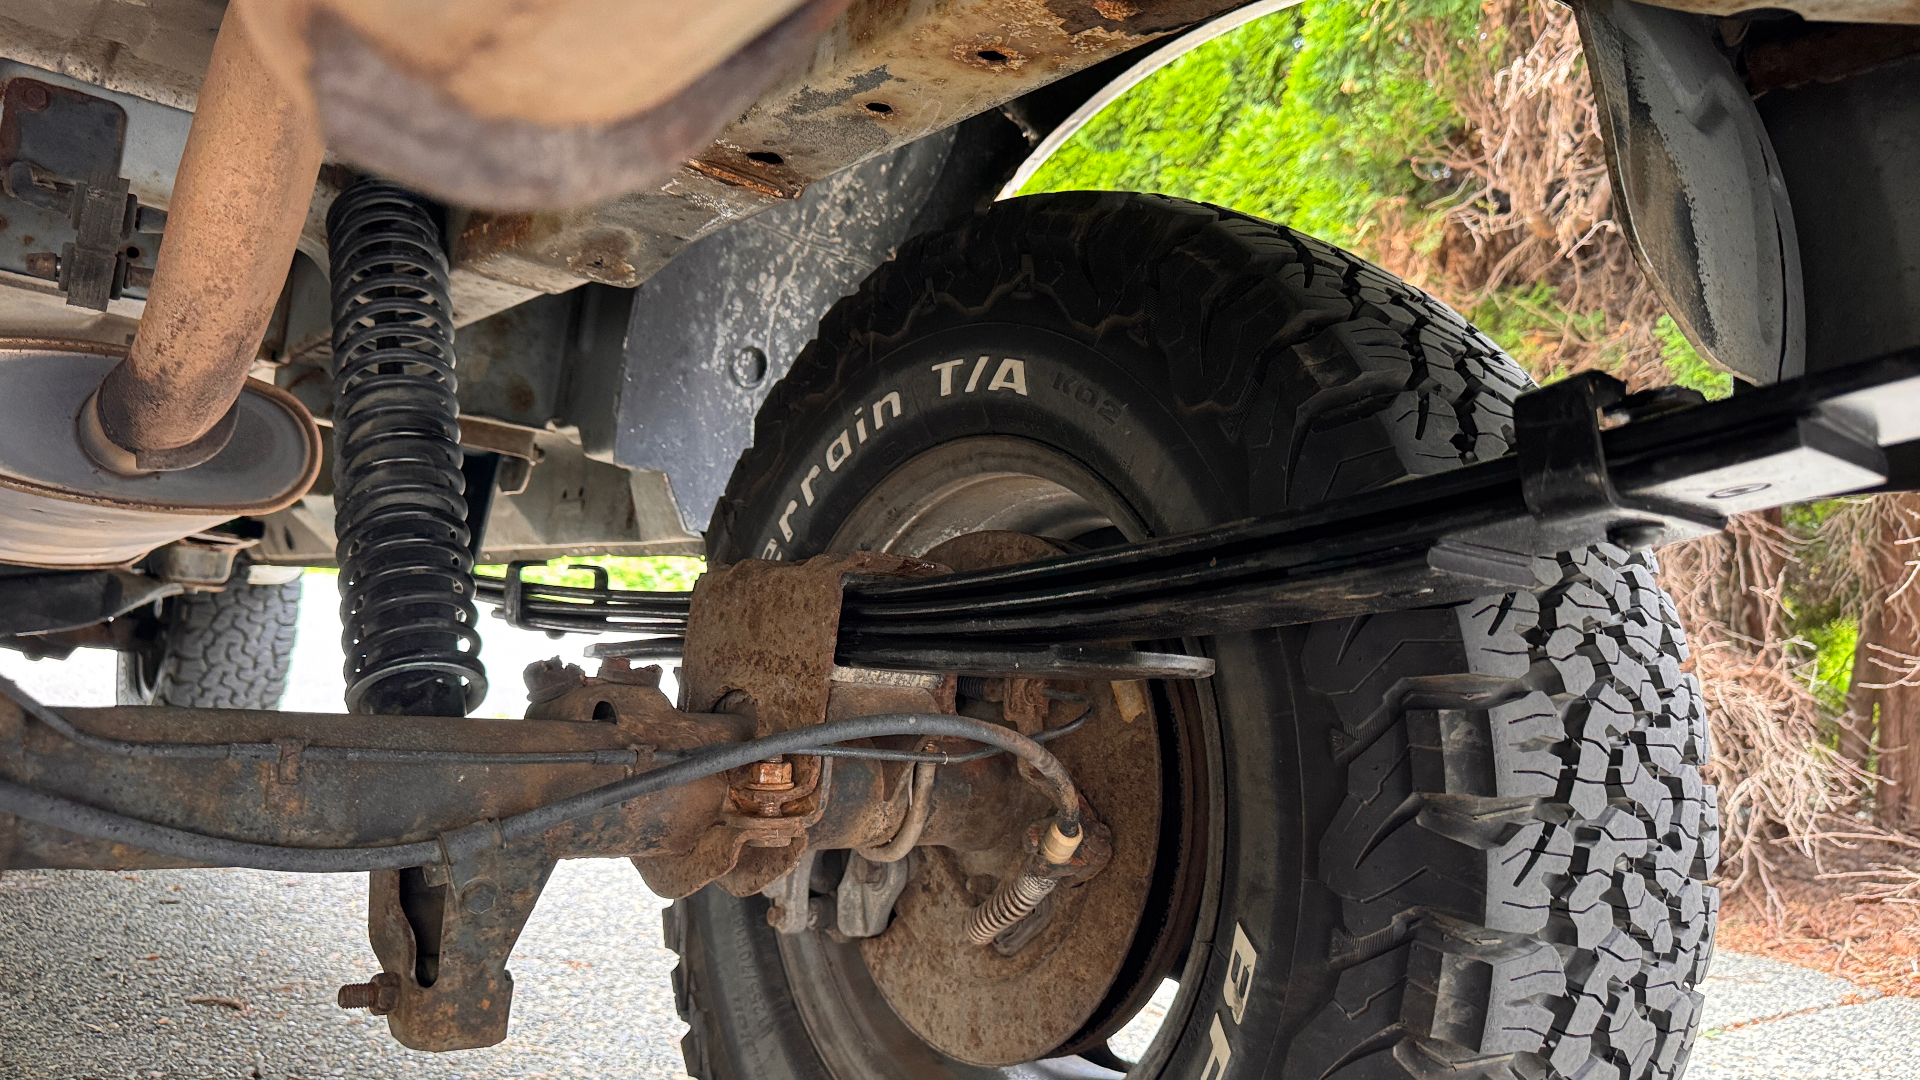
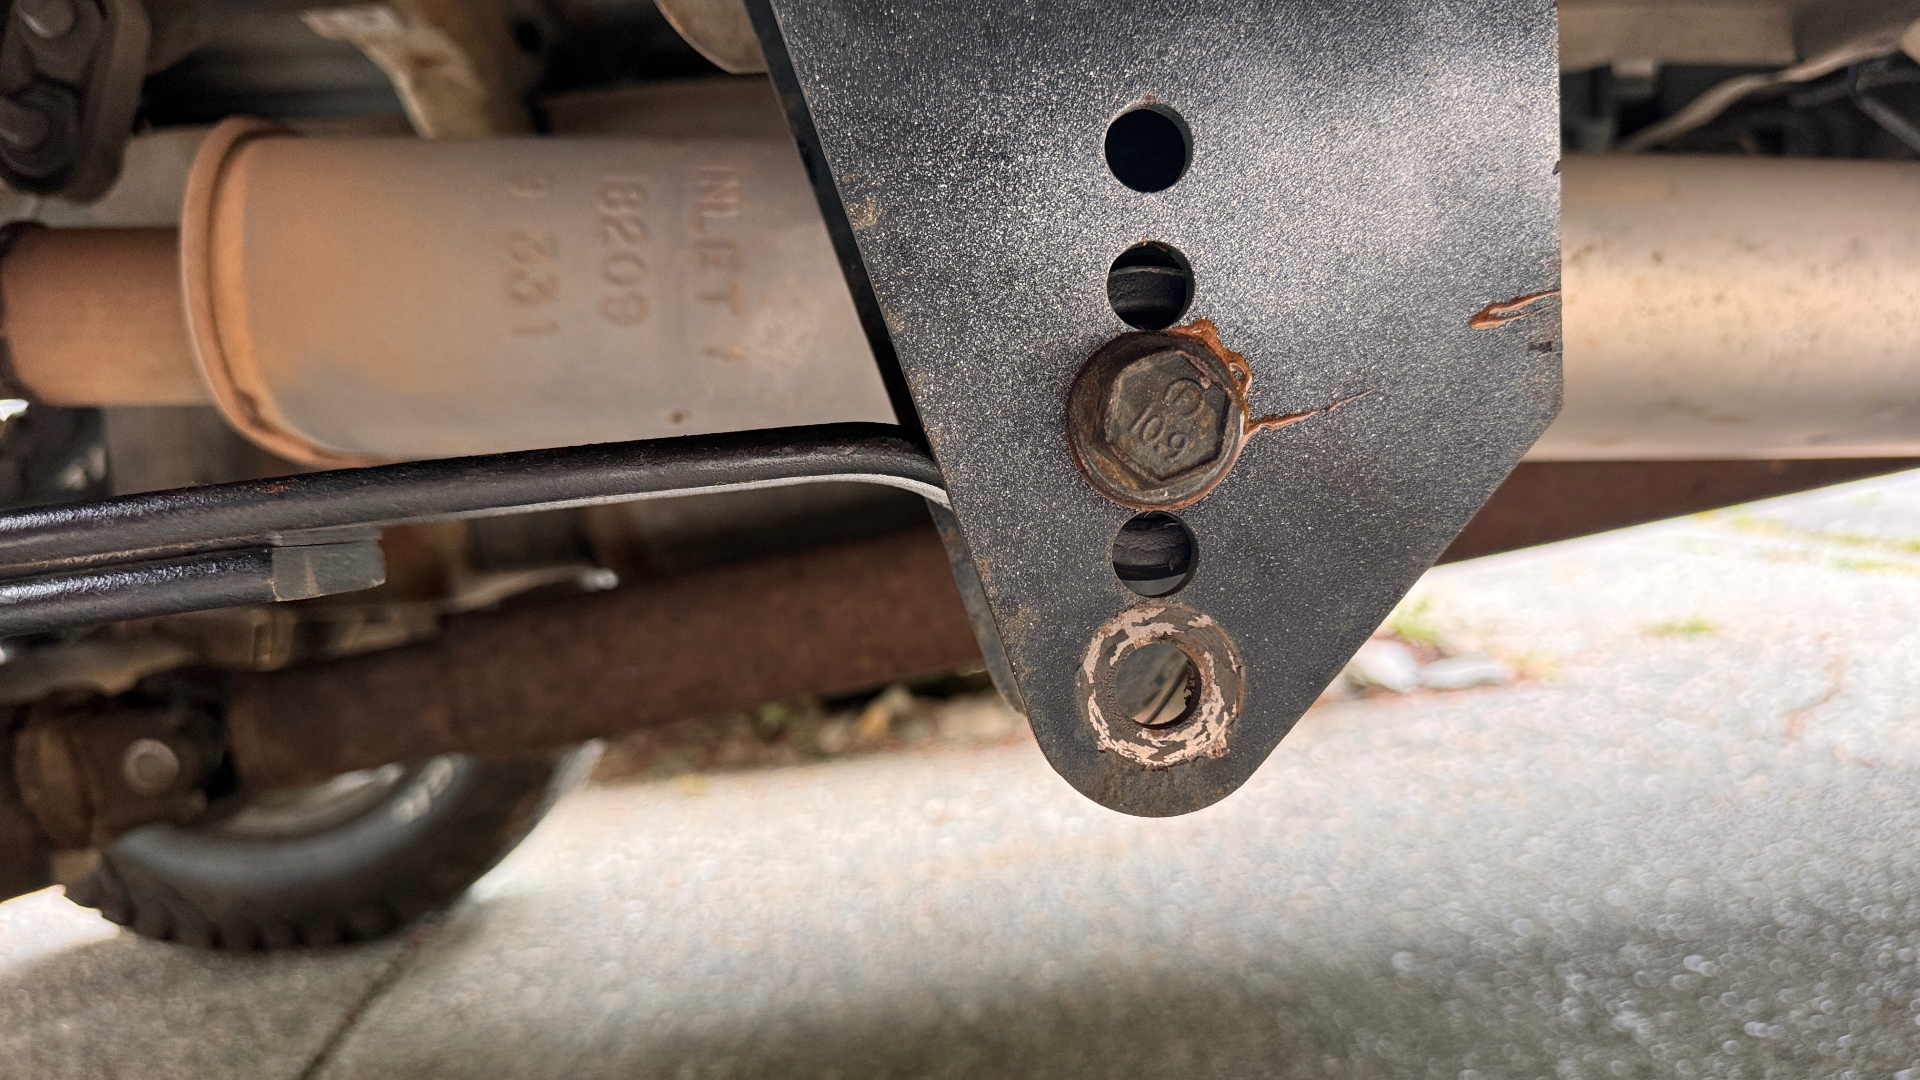
This is the kind of detail that separates a shop that installs parts from a shop that actually corrects geometry. New springs alone would have held the ride height. Repositioning the leaf on the hanger is what saved the driveshaft.
The Shocks Are Now the Weak Link
While the van was up, the shop pointed out something we already half-suspected: our current rear shocks are not right for the lifted suspension. They're not sized for the travel we're asking them to control.
We're not naming a replacement part number yet, and we're not going to. Lifted vans need shocks selected by actual suspension travel and mounting measurements, not by "what fits a stock Astro" or "what worked on someone else's build." Bilstein is the direction we're investigating — they have the right monotube options in the length ranges we care about — but the specific model has to come from measurements, not a catalogue guess.
Why Shackle Angle and Shock Length Matter
A quick technical sidebar, because this is the stuff nobody explains until it breaks:
1. Shackle geometry. If the shackle sits at the wrong angle for the loaded ride height, the spring's ability to compress and rebound is restricted. That shows up as a harsh ride, weird body motion, and premature wear on bushings, eyes, and the shackle itself. 2. A shock that bottoms out. If the shock's compressed length is longer than the space between the mounts at full compression, the shock takes the hit instead of the bump stop. That damages the shock body, the mounts, or both. 3. A shock that tops out. If the shock's extended length is shorter than the distance between the mounts at full droop, the shock becomes a limiting strap. It'll pull on its own mounts, tear its own eye, or yank the axle back up before the spring is done working. 4. Final selection. The right shock is chosen against six numbers, not one: compressed length, extended length, mount type at each end, usable travel, bump-stop clearance, and brake-hose / driveshaft limits at full droop. Skip any of these and you're guessing.
The A&C Facebook Post
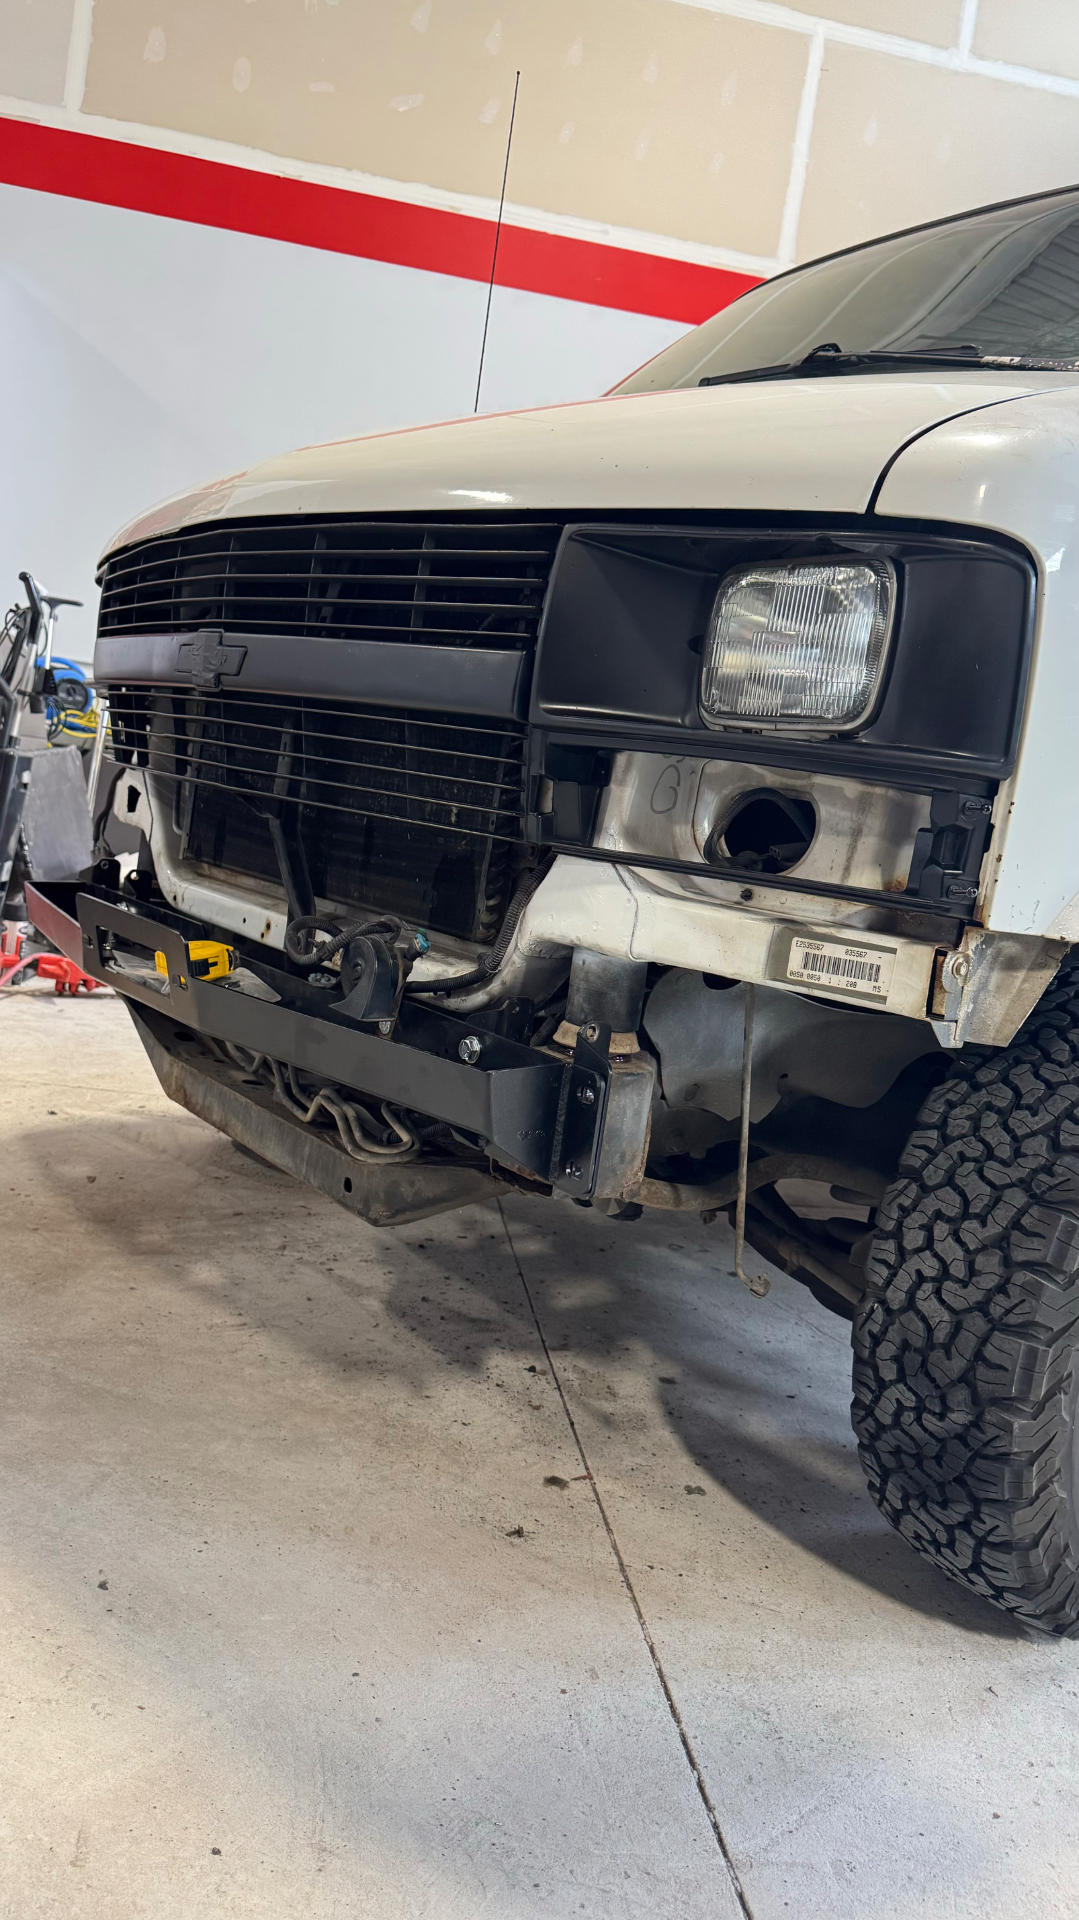
A day or two after the work, A&C posted a photo of the van on their Facebook page. The caption was, roughly: *"When the guy with off road Astro Van shows up for some suspension work and custom fab. We love it."*
That's not an endorsement, a certification, or an "approved" badge. It's a shop owner who thought the build was interesting enough to share, and we appreciated it. It's also why we're writing this up — they took the van seriously as an off-road platform, and that's rarer than it should be for a 2WD Astro.
The Shop
For anyone in the Fraser Valley looking at off-road suspension or fab work, here's the public information from A&C's own post:
- A&C Powersports & Custom Fabrication
- Unit 3, 44322 Yale Road West, Chilliwack, BC
- 236-522-1588
We're a first-time customer, not a partner. If we keep having good experiences, we'll say so as we go.
Next Steps
Now that the rear springs are sorted, the follow-up list is specific:
- Measure the rear shock envelope. Compressed length at full bump, extended length at full droop, both mount types.
- Verify bump-stop engagement. The bump stop, not the shock, should be the compression limit.
- Check full-droop clearance. Brake hoses, ABS lines, driveshaft angle, and parking brake cables all have to survive maximum extension.
- Select the correct Bilstein model based on those measurements — not on a "fits Astro" listing.
- Recheck U-bolt torque after the new springs settle, using the spring manufacturer's or installer's specified re-torque procedure and values.
- Document ride-height measurements unloaded and fully loaded (winch, fuel, water, gear, both of us) so we can watch for spring sag over the next 12 months.
That's the rhythm of this build, and it's the same one we laid out in the MillerVantures Manifesto: fix the thing that's actually the weak link, verify the fix with measurements, then move on. New rear springs and correct shackle geometry were the right first move. The shocks are next — once the numbers, not the guesses, tell us which ones.
If you want the full arc of how this van went from a stock cargo hauler to a lifted 2WD overland platform, start at Chapter 1 of the build journal.
Share this post
Comments
Loading comments…